How I Used ChatGPT and n8n to Audit and Update SEO Content for My Blog

When it comes to getting the most out of my blog, I knew I needed to do an SEO audit. I was looking for a tool that could help me get the job done quickly and efficiently, and that's when I started exploring the ChatGPT API.
With the help of ChatGPT, I was able to quickly and easily identify areas of my blog that needed improvement, and I was able to make the necessary changes to improve my SEO rankings.
One of the most helpful aspects of ChatGPT was its ability to scan my blog and generate reports that showed me where I needed to make improvements.
The missing piece in all of this was automating this process. I wanted to be able to have ChatGPT scan my blog and automatically make the necessary changes without me having to do anything.
Fortunately, that's also when I stumbled upon n8n.io - a workflow automation tool that allows me to customize the entire process. With n8n, I was able to set up custom workflows that utilize ChatGPT's API and automate the entire audit process.
Introducing the ChatGPT API
ChatGPT is a powerful natural language processing API created by OpenAI. It allows users to easily integrate natural language processing into their own applications and websites.
By leveraging the power of the ChatGPT API, I was able to quickly and easily audit the SEO of my blog.
Introducing n8n
If you're looking for a way to streamline workflow automation, look no further than n8n. This open-source, low-code workflow automation tool is the perfect way to audit SEO on your blog.
With n8n, you can easily create powerful workflows that automate tasks, such as the SEO audit I recently ran on my blog. It's easy to set up, and you can even use it to connect to various services and APIs. Plus, n8n is entirely free to use, so you don't have to worry about any hidden costs.
Setting up n8n was surprisingly easy. I was able to quickly connect ChatGPT to my blog and create a workflow that automated the entire process.
Creating an OpenAI API Key with n8n
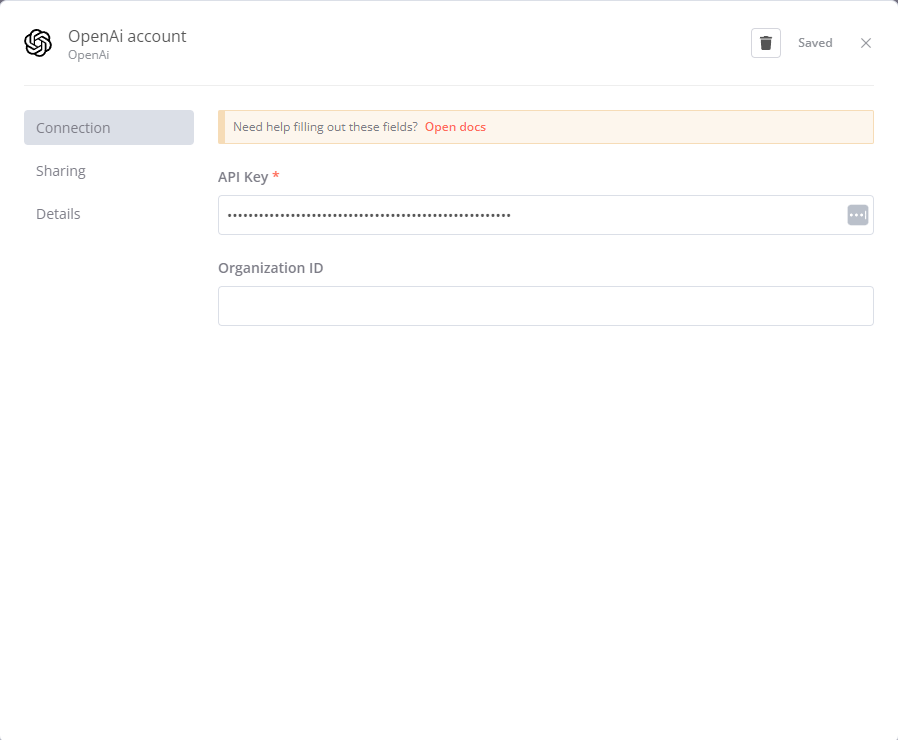
Getting an OpenAI API key is quick and easy with n8n. All you need to do is register on the OpenAI website and then generate your own API key. Once you have your API key, you can easily connect your n8n account to OpenAI through the n8n API tab. This will allow you to use your OpenAI API key in any of your n8n workflows.
Creating the workflow in n8n
Create Ghost API Key
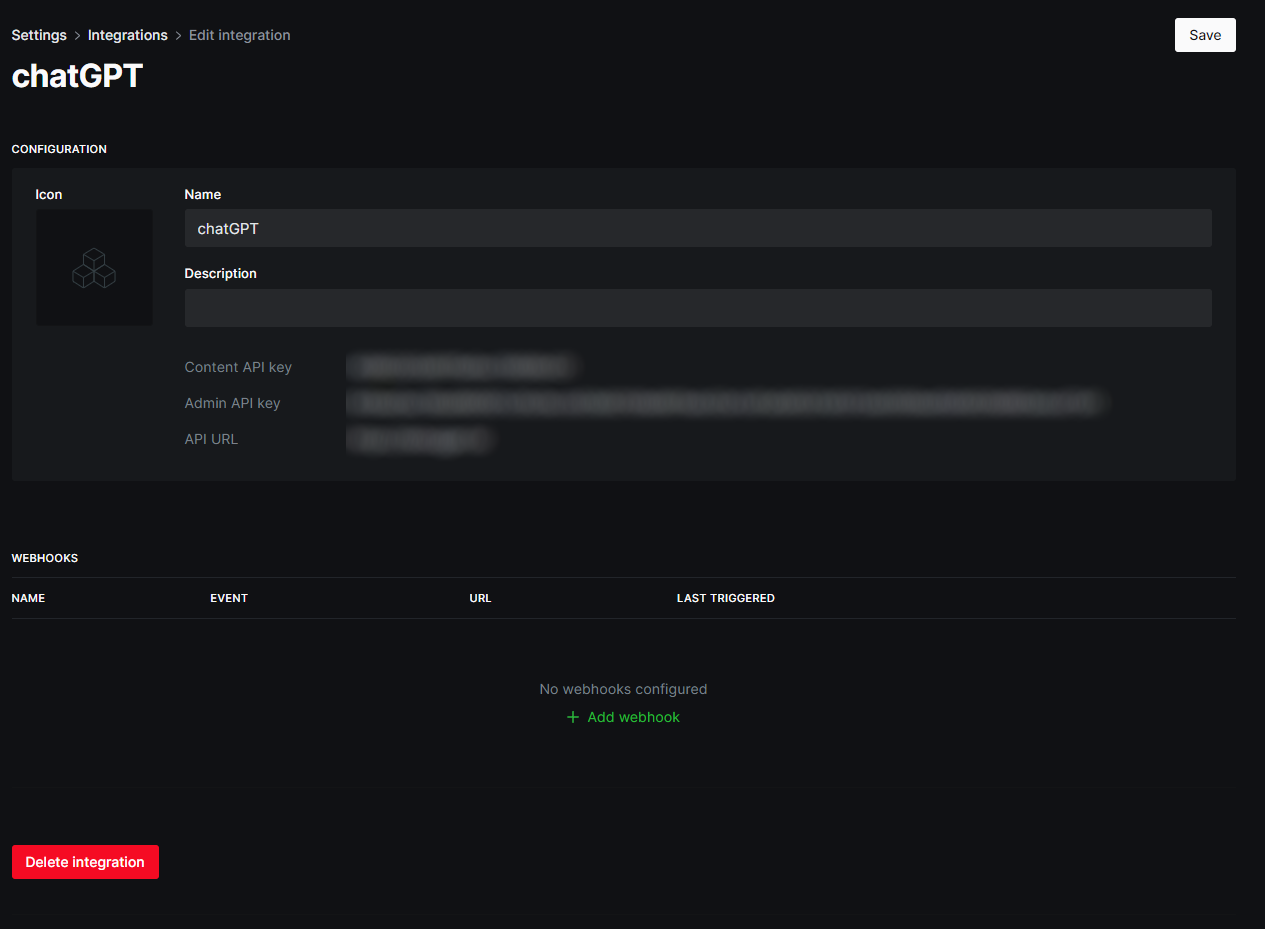
To use a ghost node in n8, you must first create the API key in Ghost. This is done by going to the “Integrations” page and selecting “New Integration.” From there, you’ll need to give the integration a name and select “API” as the type. You can then click “Create Integration” to generate the API key. Once you have the API key, you can use it in your n8n workflows to securely access your blog and fetch posts.
Step 1: Setup the Ghost node
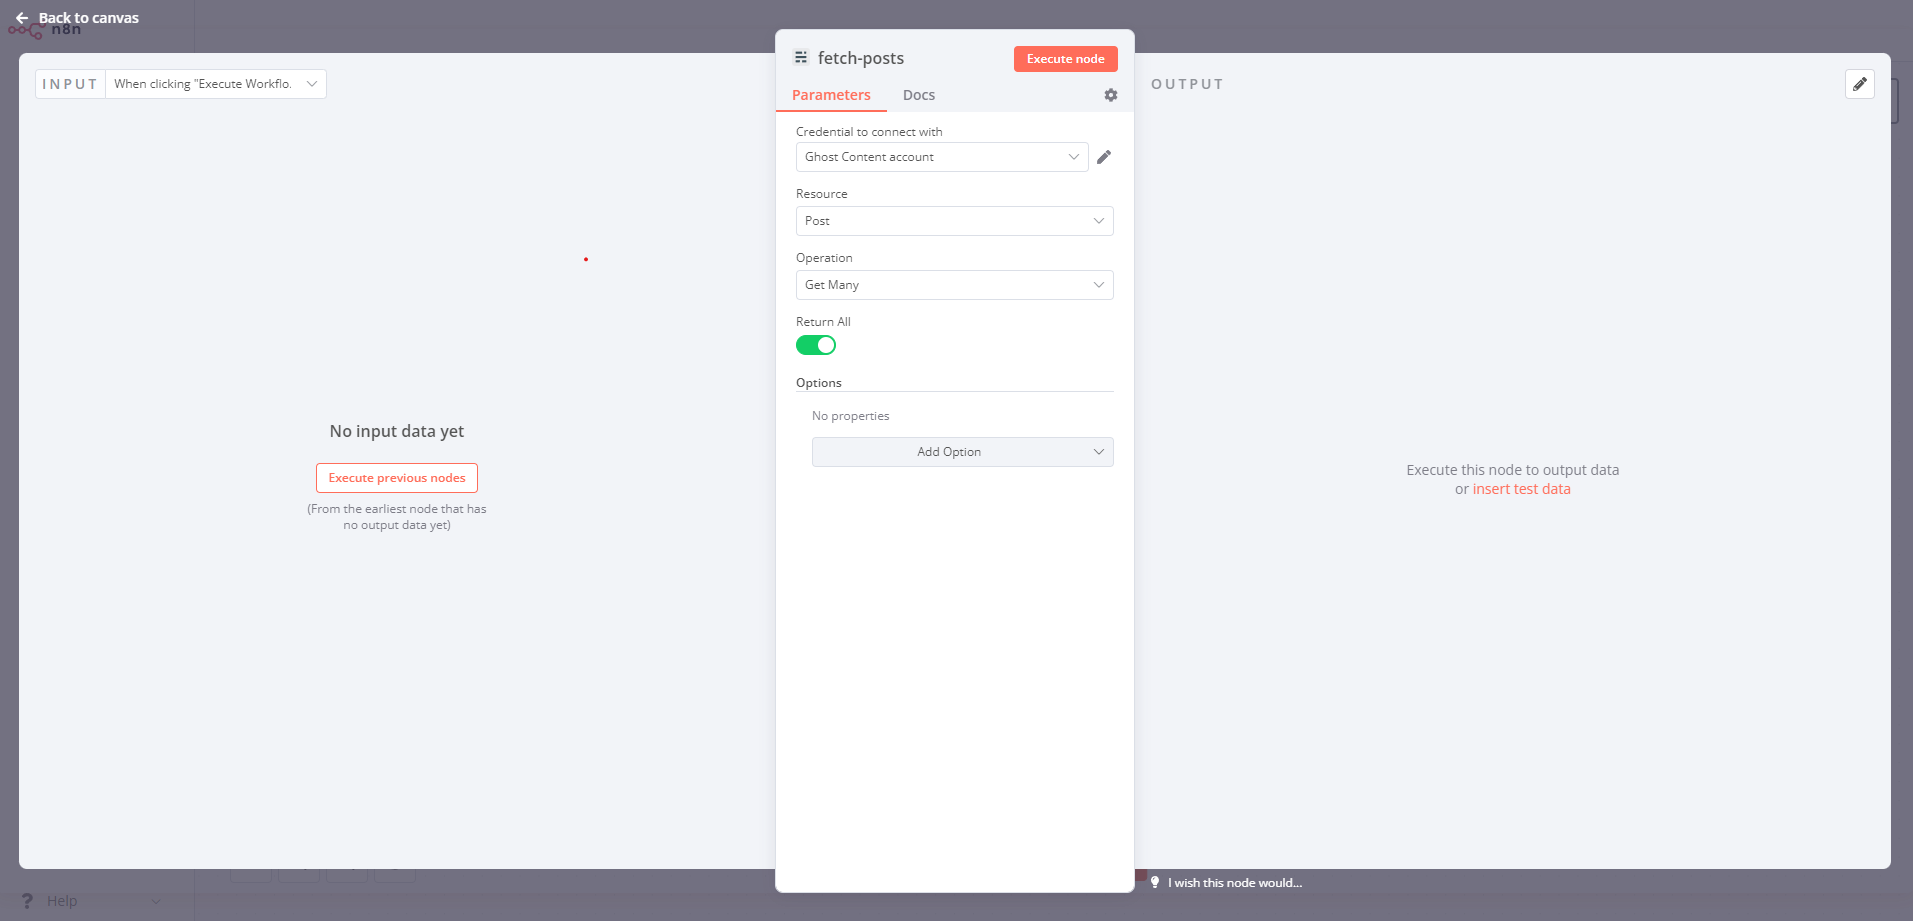
Setting up a Ghost node to fetch posts in n8n is easy and straightforward. With the help of this node, you can seamlessly pull posts from the Ghost API for further processing.
Add your credentials and use the Get Many Posts node.
Step 2: Parsing the results
Using the n8n function node, you can easily parse the results from Ghost. The node allows you to transform the data from Ghost into a format that can be consumed by the rest of your workflow. With the function node, you can define custom functions and logic to parse the data from Ghost and output the desired results.
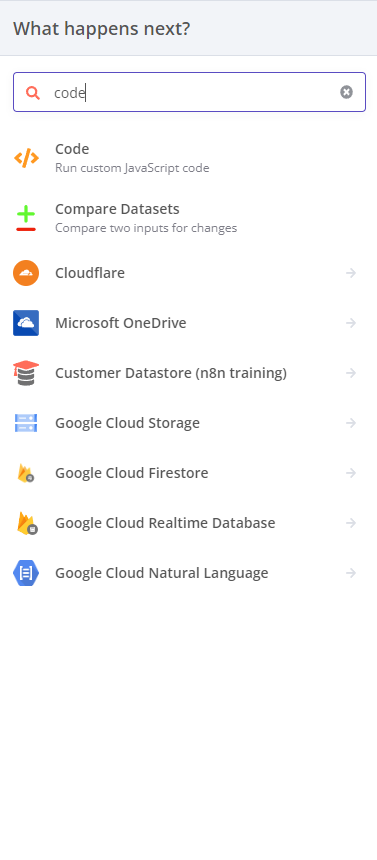
The n8n function node enables you to quickly parse the output HTML from Ghost and strip it of any HTML tags. You can then use this parsed data to give instructions to ChatGPT, so it can perform the desired tasks on each post. This makes it easier and faster for you to process the output from Ghost and apply custom logic and calculations to your data.
Removing HTML tags
function stripHtmlTags(htmlString) {
	return htmlString.replace(/<[^>]*>/g, '');
}
Building the user instructions property for ChatGPT
const content = `Take this content and write a meta description for the article ${stripHtmlTags(item.json.html)}`;
Building system instructions property for ChatGPT
The system instructions property of the ChatGPT API allows you to send custom instructions to the chatbot and define how it should handle different posts from Ghost. With this feature, you can customize the chatbot's response and make sure it's able to provide the desired outcome.
{
    "model": "gpt-3.5-turbo",
    "messages": [
        {
            "role": "system",
            "content": "You are an expert at SEO. Return response in json in the following schema. slug (as provided), id (as provided), suggested_title, metaDescription (under 180 characters), tags (min: 1, max: 2) Return correct objects. "
        },
        {
            "role": "user",
            "content": content // the user instructions property
        }
    ]
}
Complete code for the ParseInput node
let arr = [];
    function stripHtmlTags(htmlString) {
        return htmlString.replace(/<[^>]*>/g, '');
    }
    let i = 0;
    for (const item of $input.all()) {
        i++;
        const content = `Take this content and write a meta description for the article ${stripHtmlTags(
            item.json.html
        )}. Slug: ${item.json.slug}, Id: ${item.json.id}`;

        const obj = {
            model: 'gpt-3.5-turbo',
            messages: [
                {
                    role: 'system',
                    content:
                        'You are an expert at SEO. Return response in json in the following schema. slug (as provided), id (as provided), suggested_title, metaDescription (under 180 characters), tags (min: 1, max: 2) Return correct objects.'
                },
                { role: 'user', content: content }
            ]
        };

        arr.push({
            title: item.json.title,
            obj: obj,
            id: item.json.title
        });
    }

    return arr;
Workflow at the end of Step 2
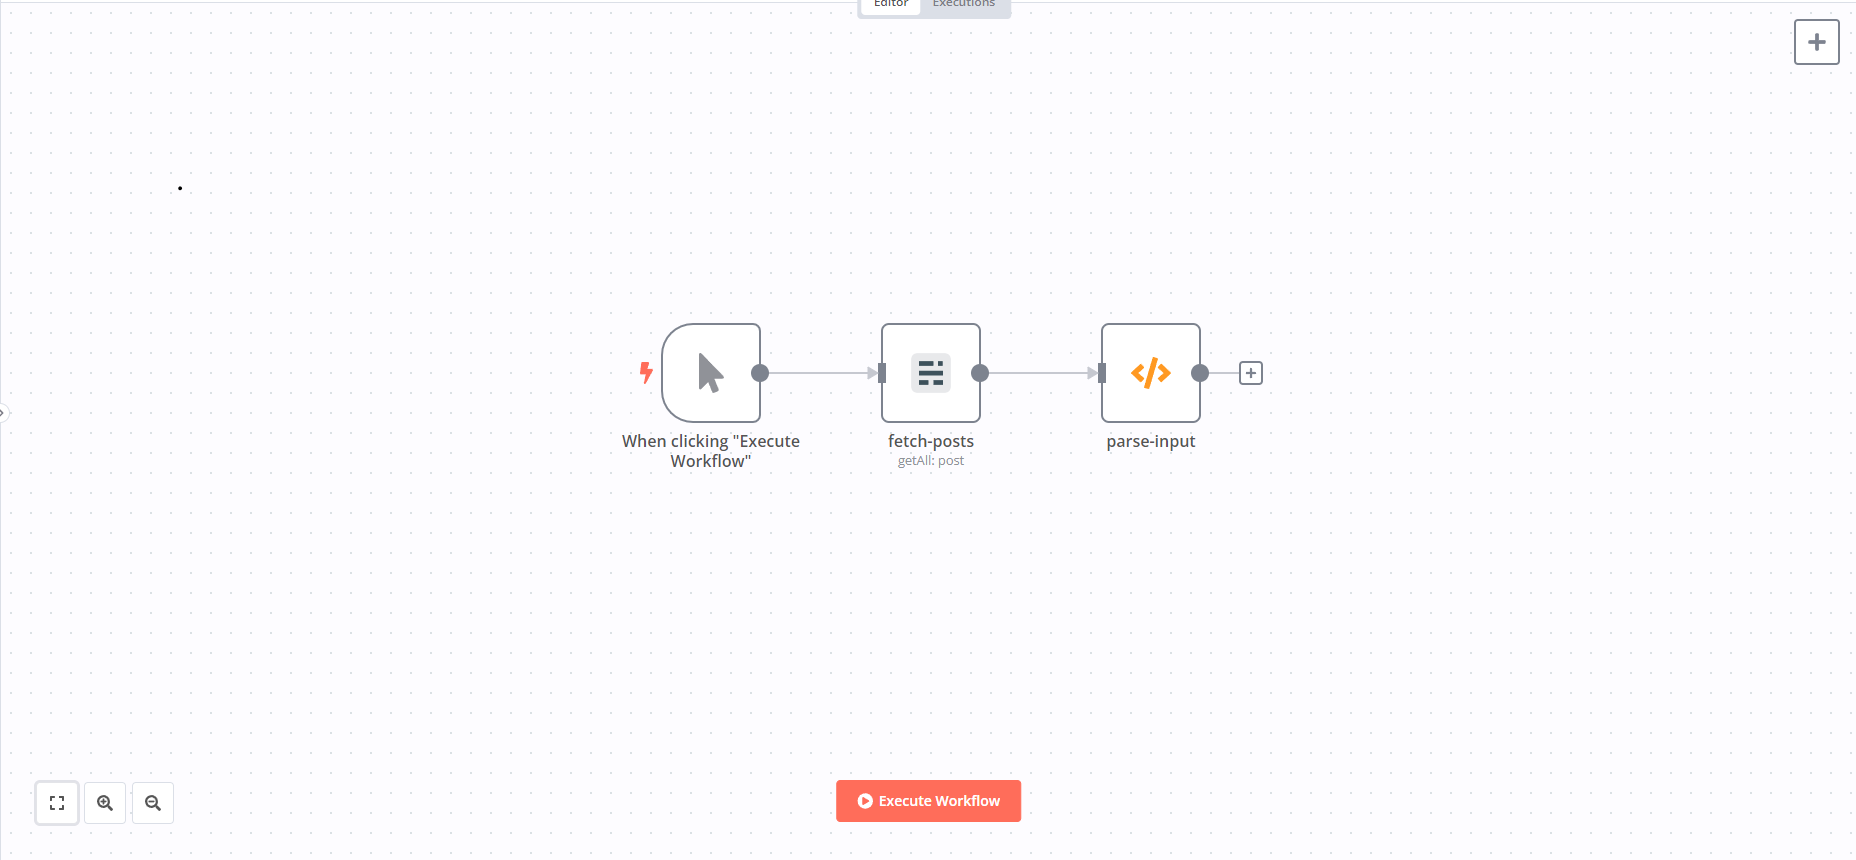
We've achieved two major steps in our project: getting posts from Ghost and parsing the results to create instructions for ChatGPT. We used the Ghost API to access recent posts and extract the relevant information, then parsed this information to obtain the instructions needed for ChatGPT to generate an automated response. We are now able to quickly generate a response, based on the instructions, to any given post.
Step 3: Batching
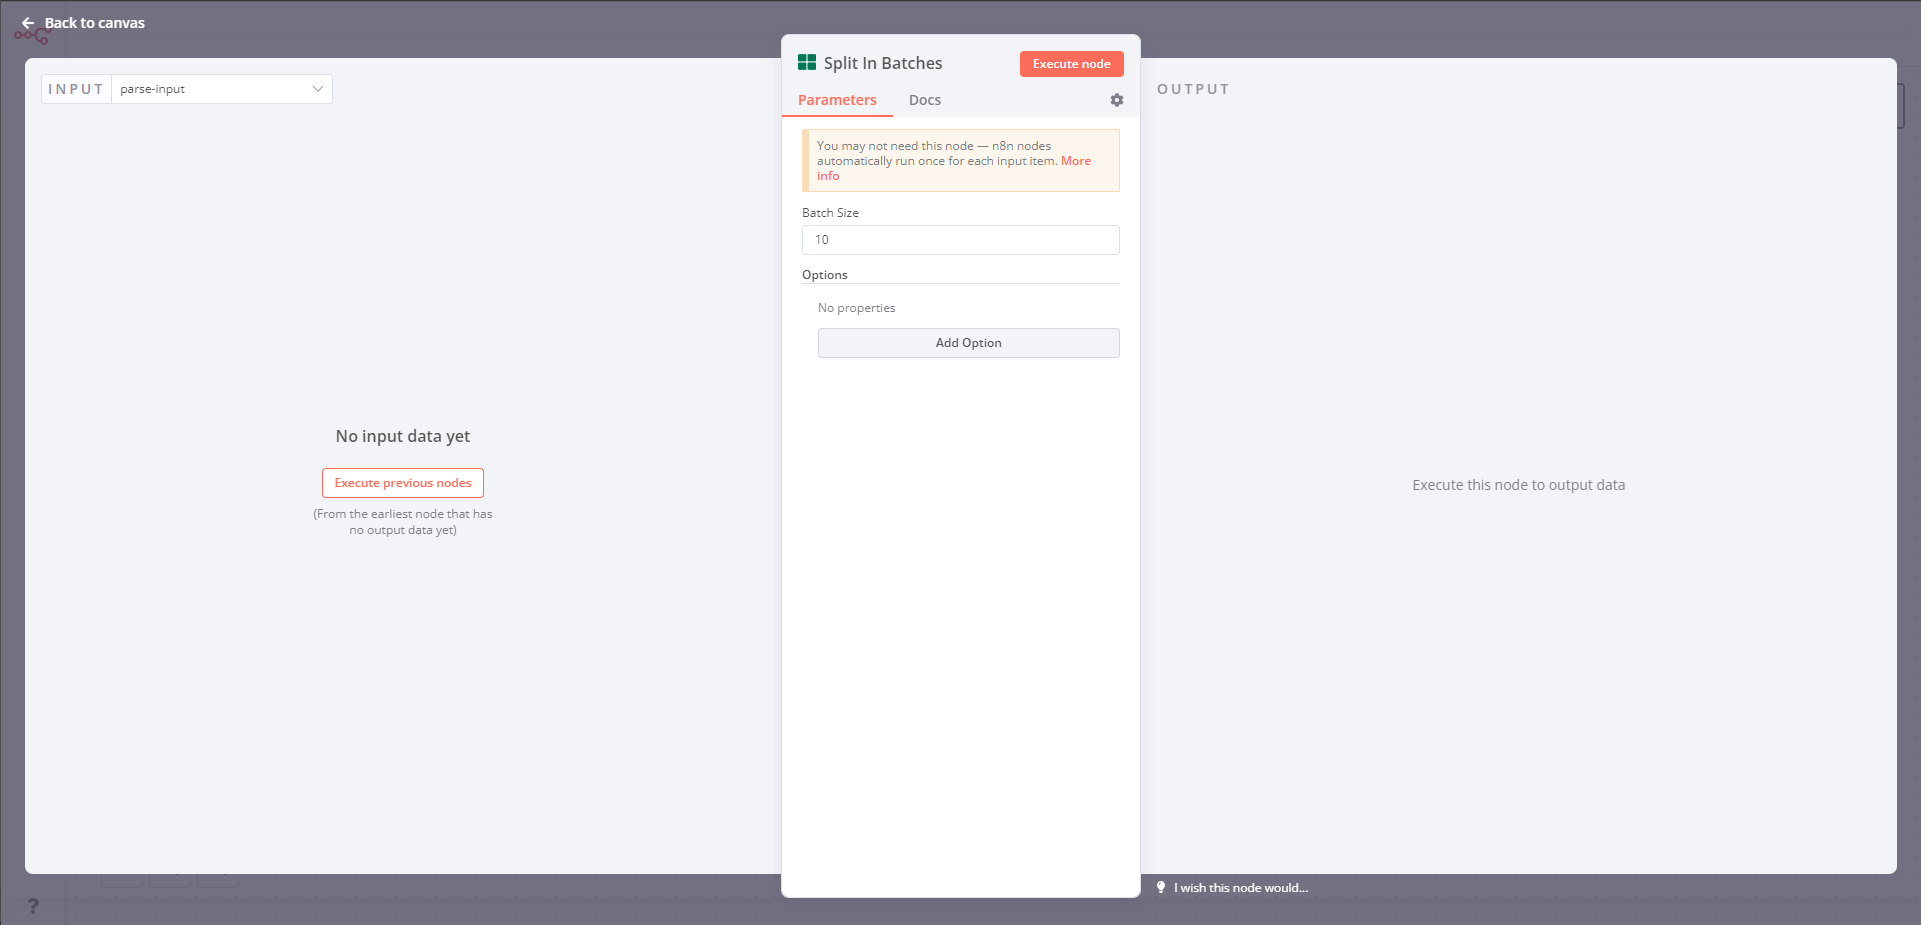
The next step is to use the batching node to rate limit our calls to the OpenAI API. By batching multiple requests together, we can reduce the number of individual API calls we need to make and ensure we don't exceed the rate limit. This will help us to generate automated responses more quickly and efficiently.
We will use a batch of 2 to process all our posts. Sending everything all at once means your workflow will have to run for a very long time
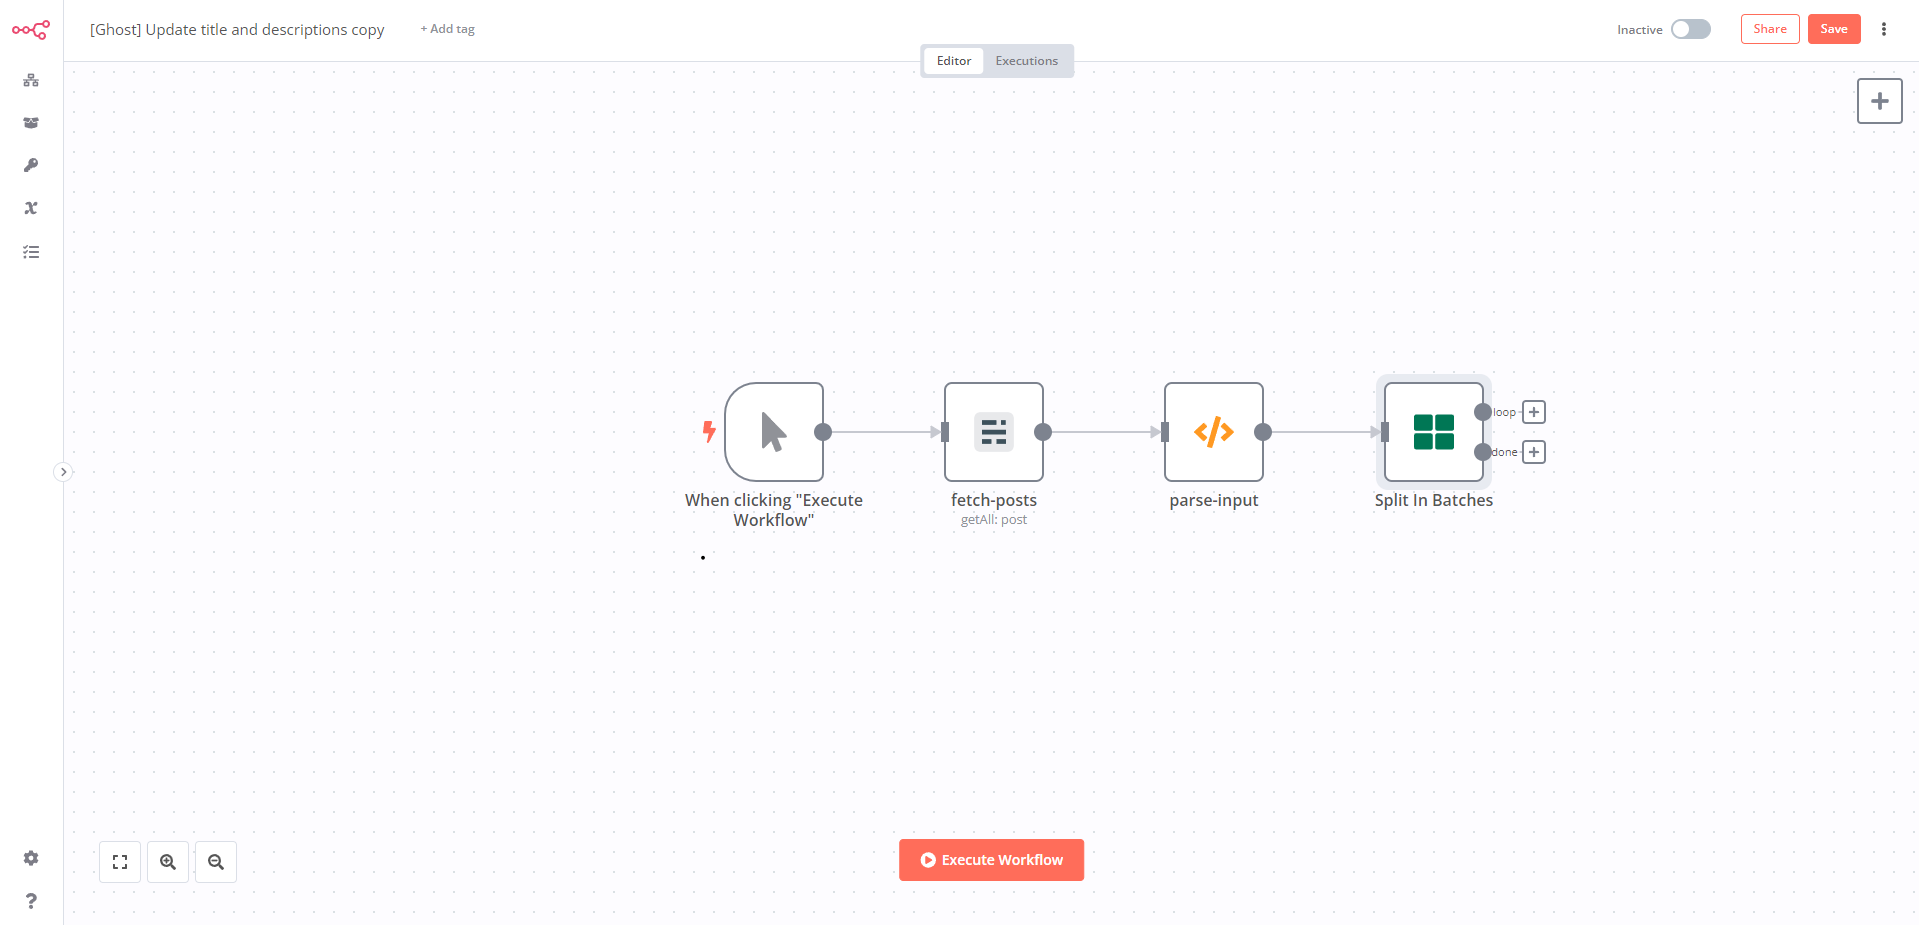
Workflow at the end of Step 3
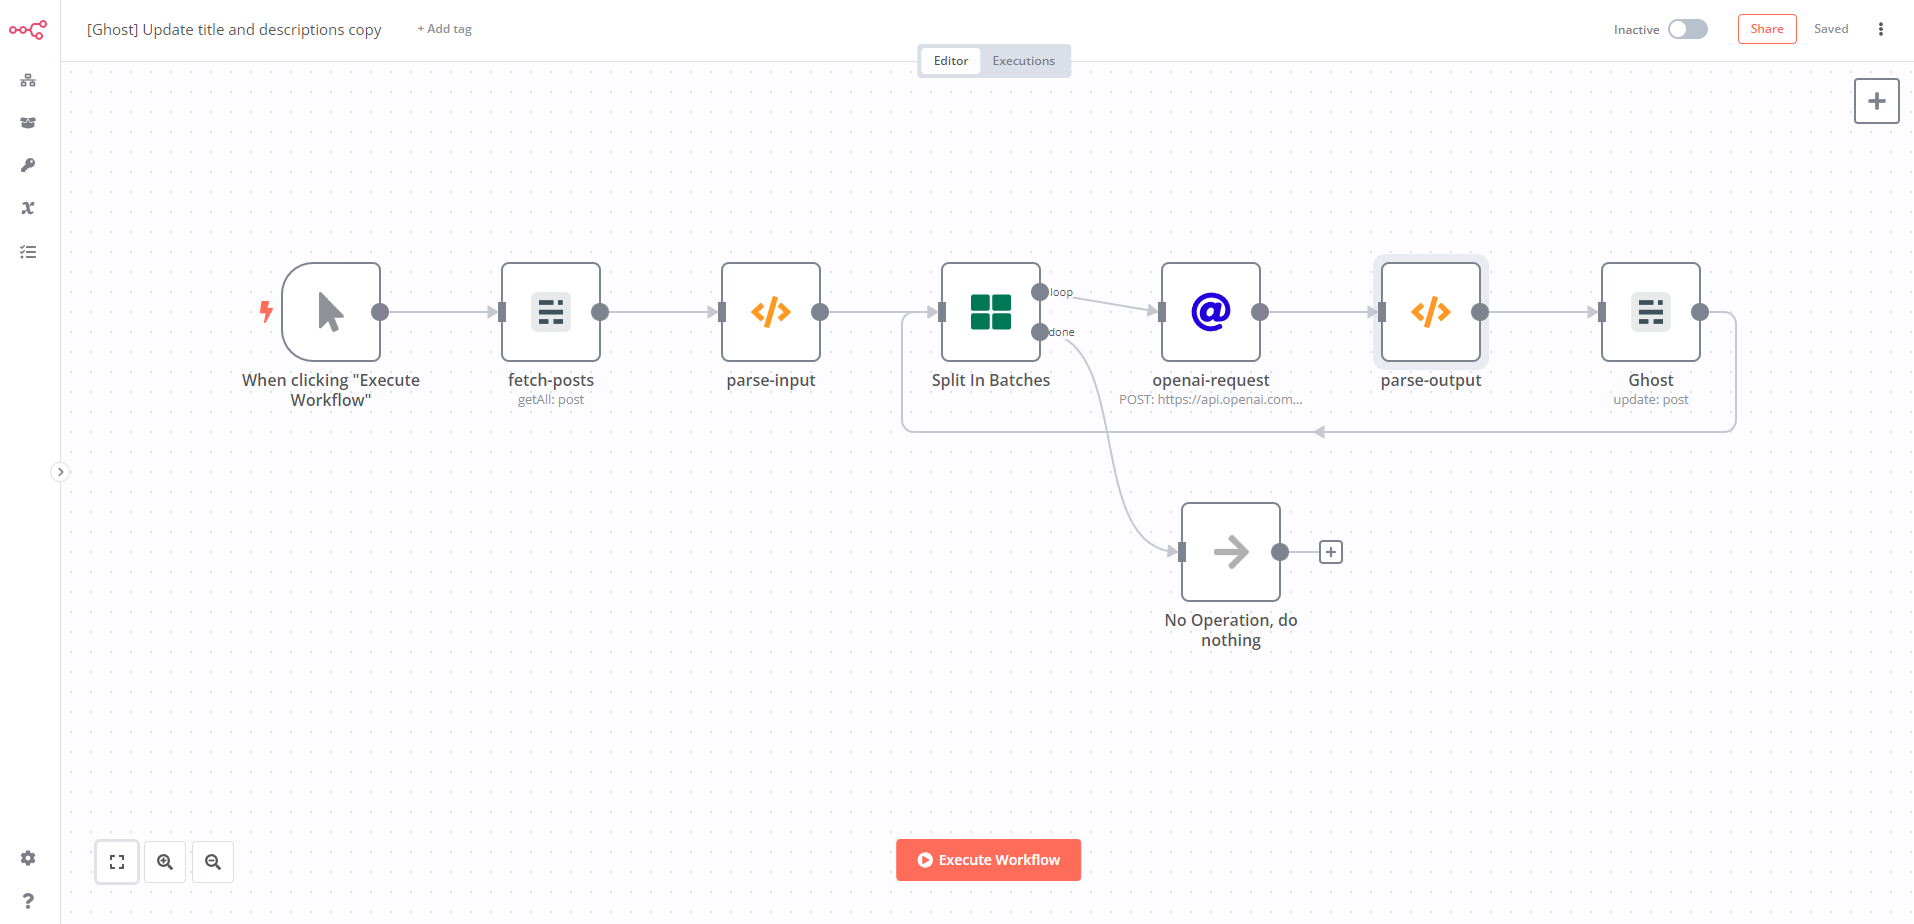
This is our current workflow where we have fetched all posts, parsed the results from the ghost API and added a batch node to rate limit our API calls. The next step is where we send all of this into the OpenAI API.
Step 4: ChatGPT API Call
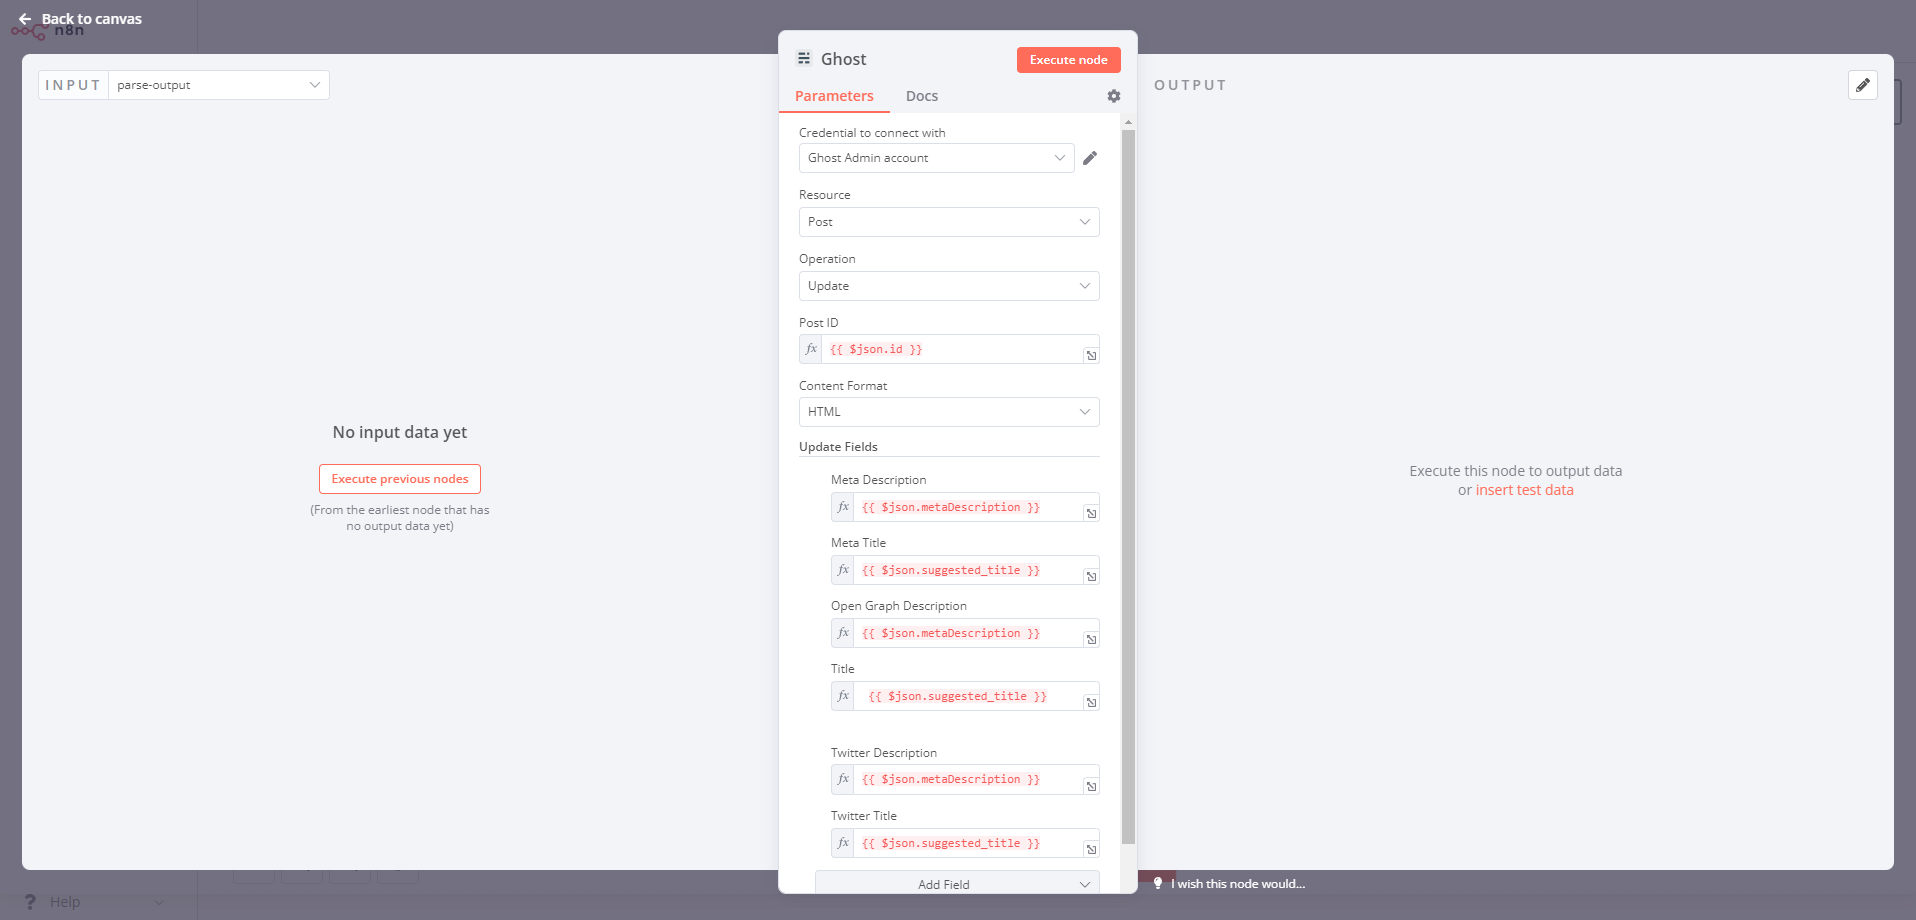
Making an HTTP request to the ChatGPT API is as straightforward as making a request to any other web service. The completion endpoint is used to request a completed response to a given input string. The endpoint takes two parameters: the input string (user instructions) and an optional context (system instructions) string. When making the HTTP request, the parameters must be included in the body of the request. The response will be in JSON format and will contain the completed response from the ChatGPT API.
In this step, we will pass in the array of objects that we built in step 2. The array of object basically contains the following.
User instructions: Read this article and suggest meta title and meta description for it. <Article body>
System instructions: You are an expert at SEO. Return response in json in the following schema. slug (as provided), id (as provided), suggested_title, metaDescription (under 180 characters), tags (min: 1, max: 2) Return correct objects.
Workflow at the end of step 4
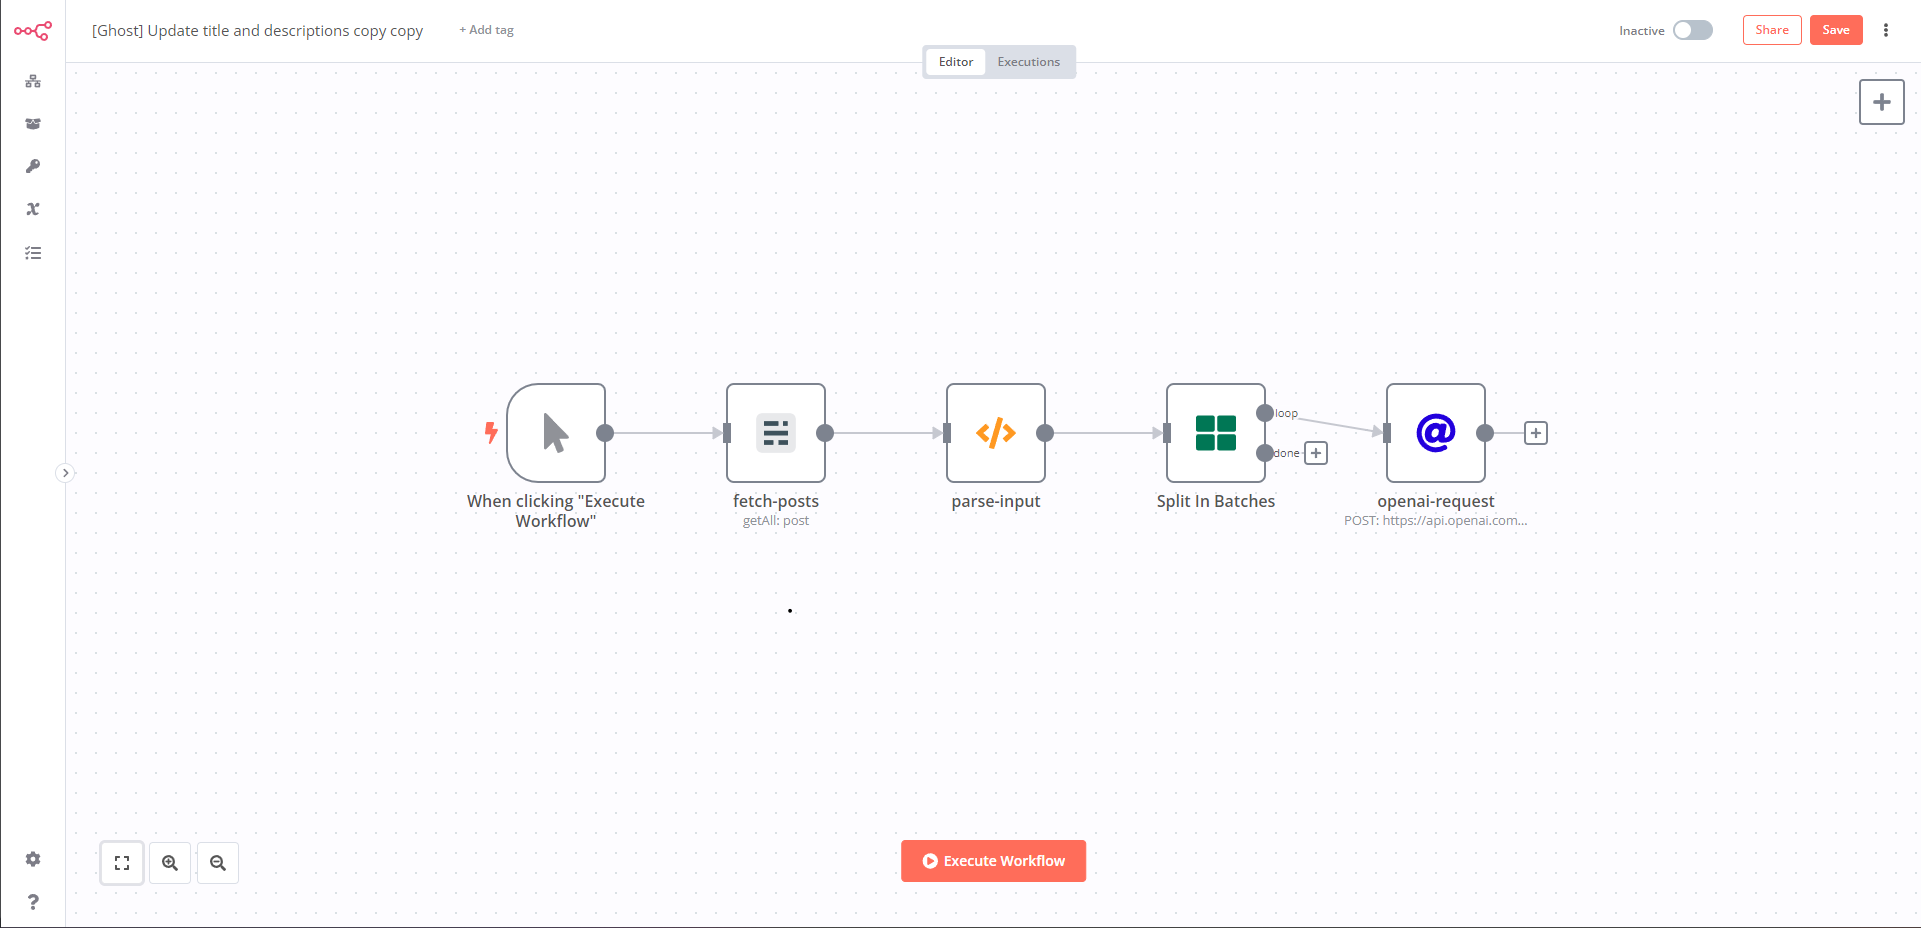
Step 5: Parsing the results from ChatGPT
In this step, we will make sense of the data being returned by ChatGPT to us and make it into a usable form that we can pass into our ghost node which will be the last step.
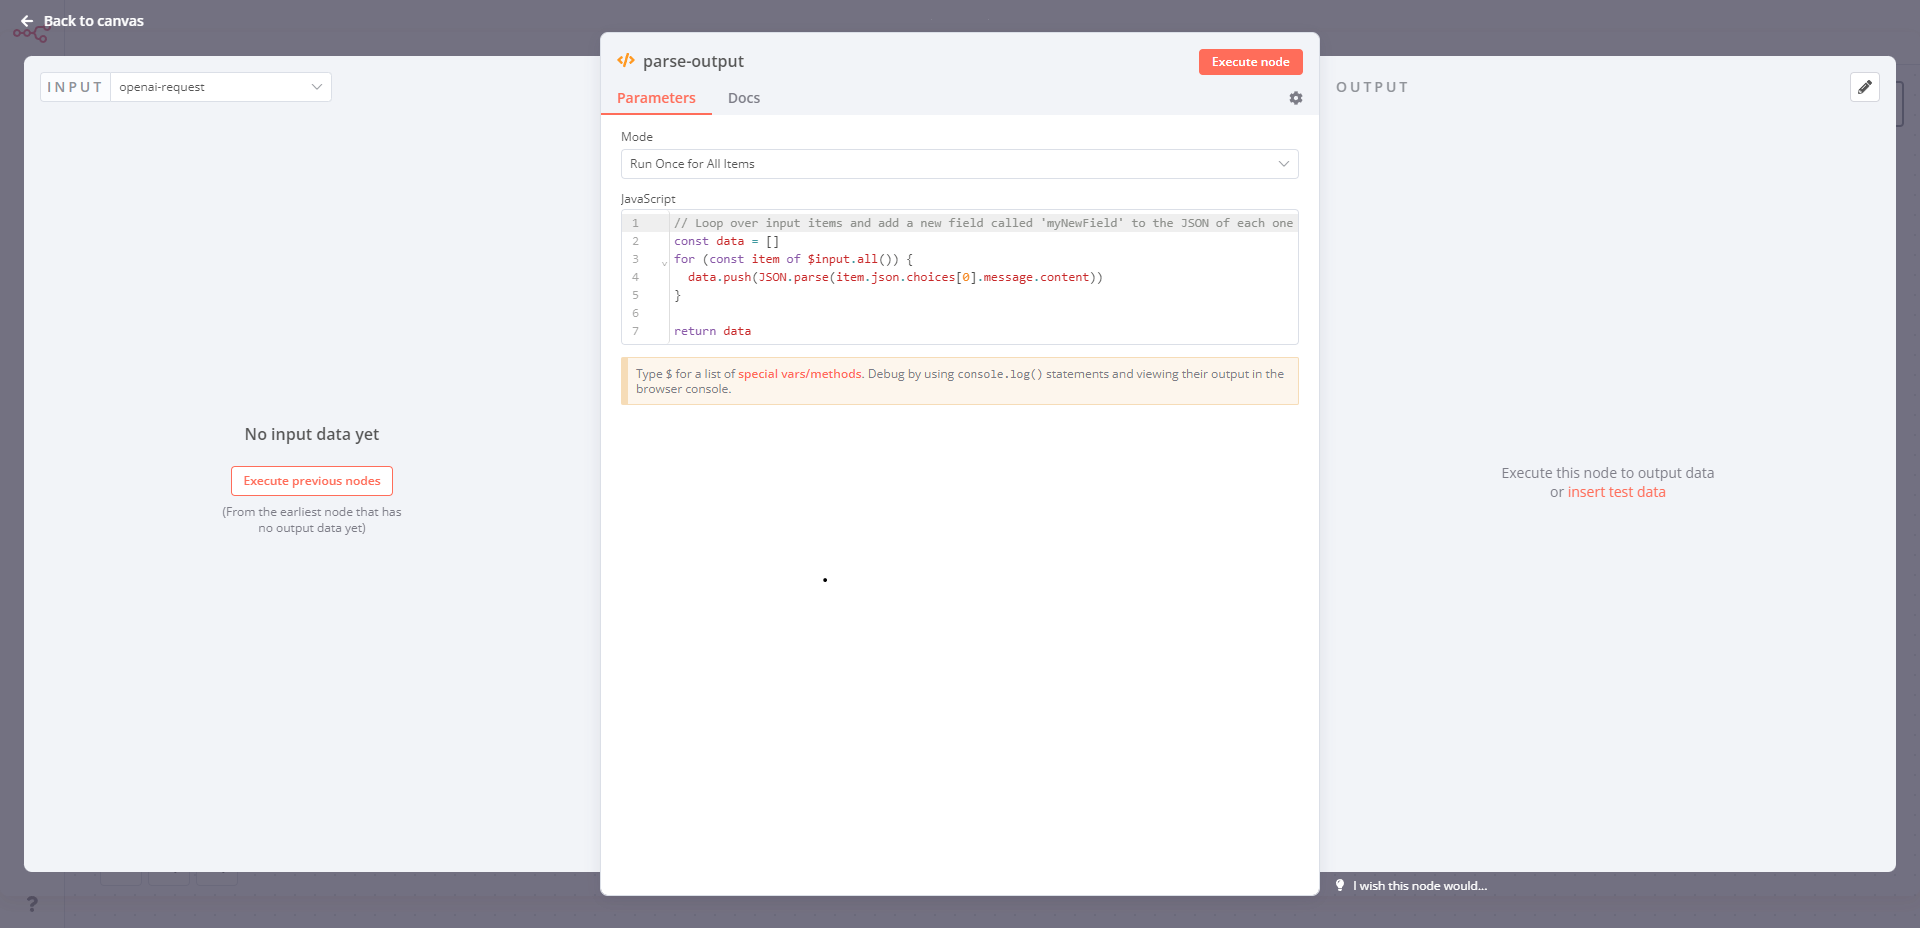
const data = []
for (const item of $input.all()) {
  data.push(JSON.parse(item.json.choices[0].message.content))
}

return data
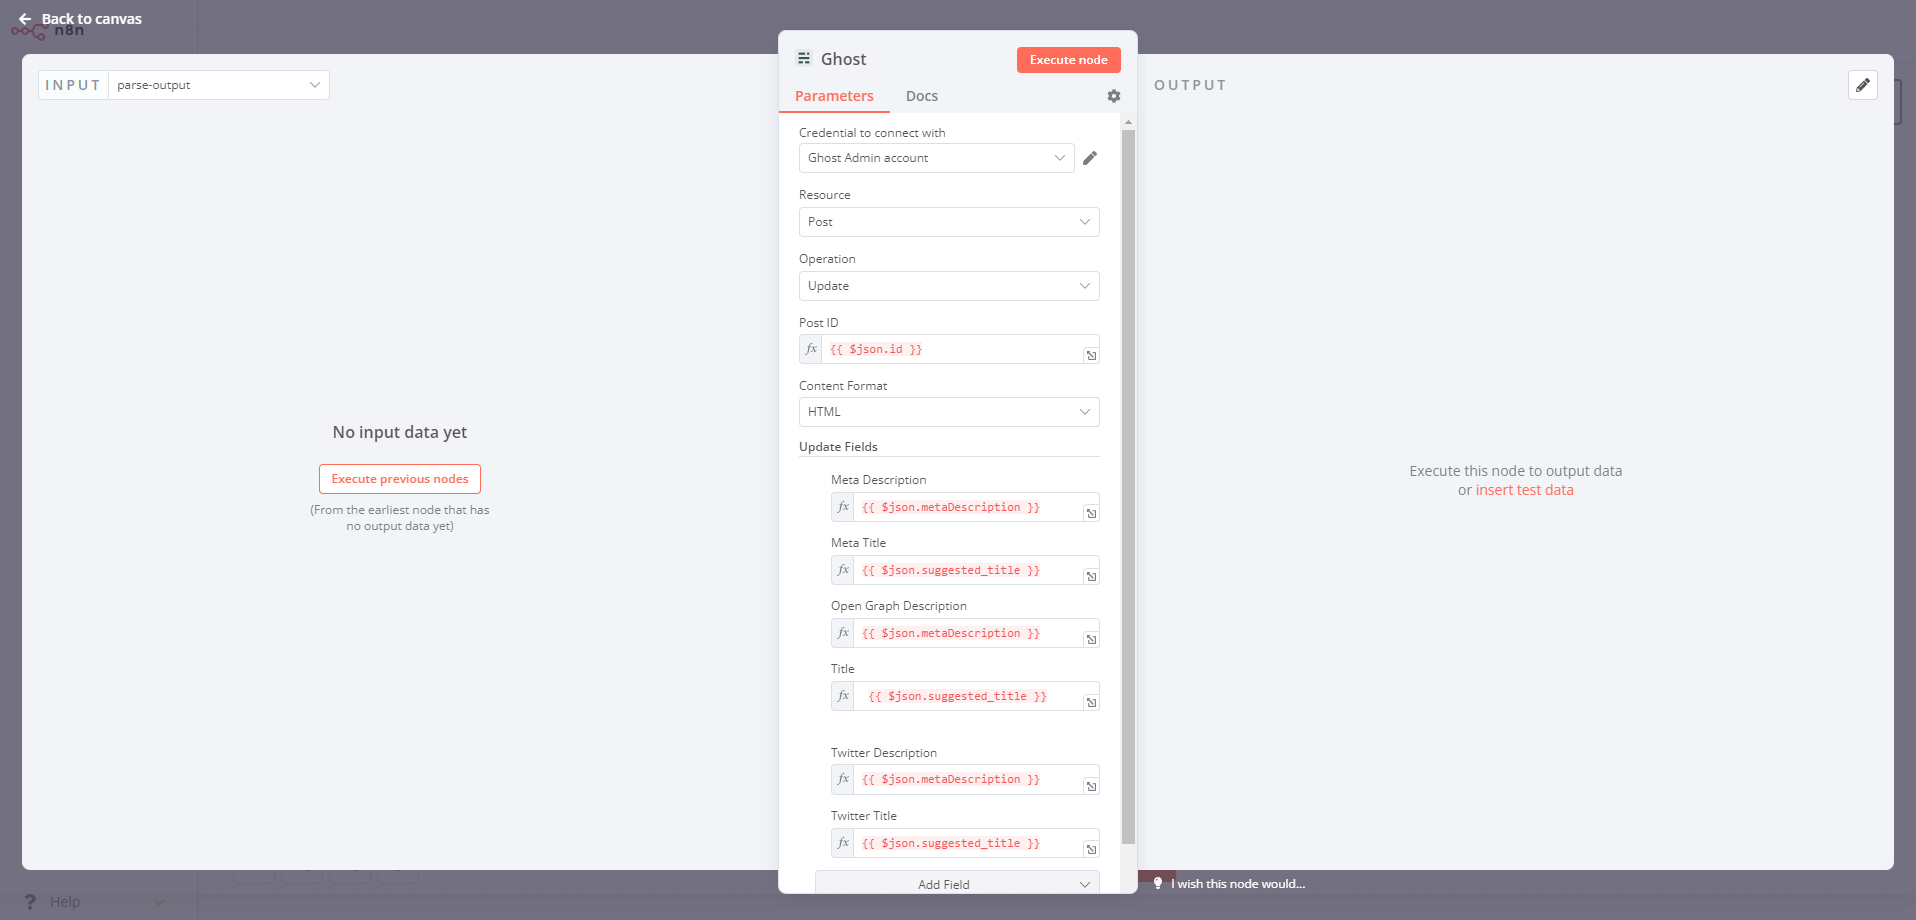
Step 6: Updating all posts with results from ChatGPT
The last step is to use the results from ChatGPT and pass it into a ghost node that automatically loops through all the posts on your blog and updates all the required fields automatically.
Putting it all together
ChatGPT is a very powerful tool - there's no question about that. But its true potential is only realized when your interactions with ChatGPT are automated. In this article, we explored how you can automate mundane/repetitive tasks by leveraging the ChatGPT API. The best part is that it's not very expensive to use these in your personal workflows.
I have another automation that is triggered when I create a new tag in Ghost. It then automatically suggests a meta title and meta description for it.
At the end of the day, ChatGPT is only as effective as what you can tell it to do. Automation unlocks its true potential.
